Upcycled Chicken Coop

Four years ago my wife persuaded me that getting chickens would be a good idea. Several years on and 2 extra chickens later; the inexpensive “temporary” chicken coop we first brought is starting to fall apart. Parts of the roof have come away allowing water to leak into the roosting area and nesting boxes. So I set out on a journey to find an inexpensive replacement. Whilst searching online I came across several examples of a water barrel chicken coop.
Along with the fact that the chicken’s current coop had seen better days. It also had the issue of pests and parasites being able to hide in the nooks and crannies of the coop. To manage this, a regular going over with a blow torch. As well, the application of mite powder was needed every time the bedding material was changed, this came with its health risks for both myself and the chickens.
While researching a replacement for the coop, a fellow chicken keeper advised about a range of plastic coops. Such as the Omlet Eglu and the Arkus recycled plastic chicken coop. The most noteworthy selling point for these coops is that they are easier to clean. As the plastic surfaces do not absorb any waste liquids. Also, parasites and other nasties will find it harder to survive within the interior.
Great I thought, let’s get one of these. The main downside to this is the price with the size and model I require starting at well over £150.
As with a lot of specialist equipment you get what you pay for. My current budget allows me to purchase an inexpensive wooden coop very similar to the one I currently own. Due to my experience with our current coop and with all the pitfalls of such a coop design, I didn’t want to throw good money after bad and be in this position again in a few years.
Which came first?
After some more searching, I came across this article. In which the writer runs a small business hiring out a small barrel chicken coop. Such as in the image below.
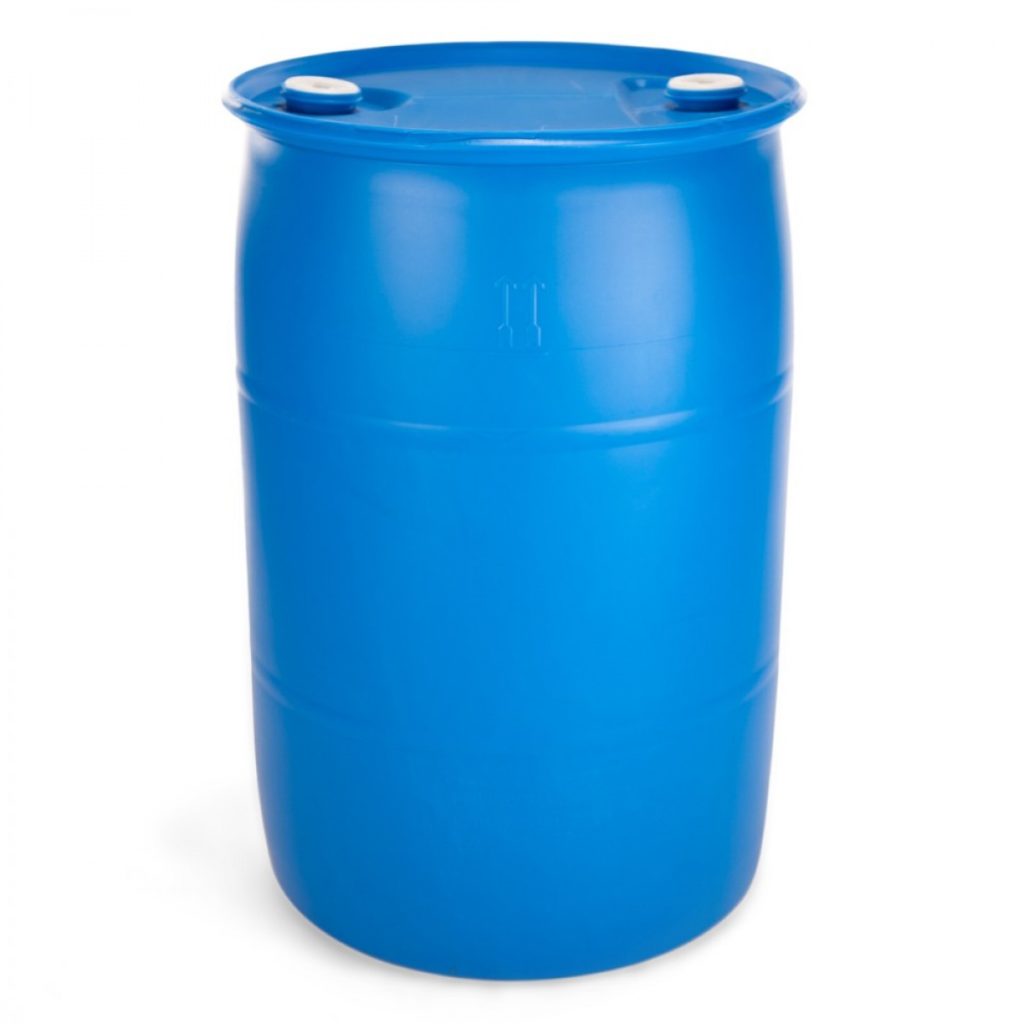
It just so happened that I had such a barrel in the garden. The following project took about a day to complete.
Making the coop
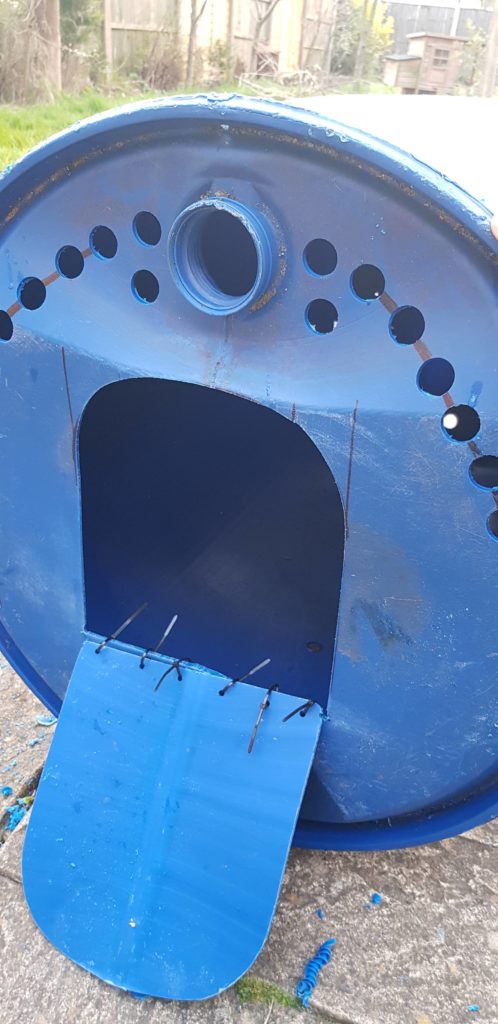
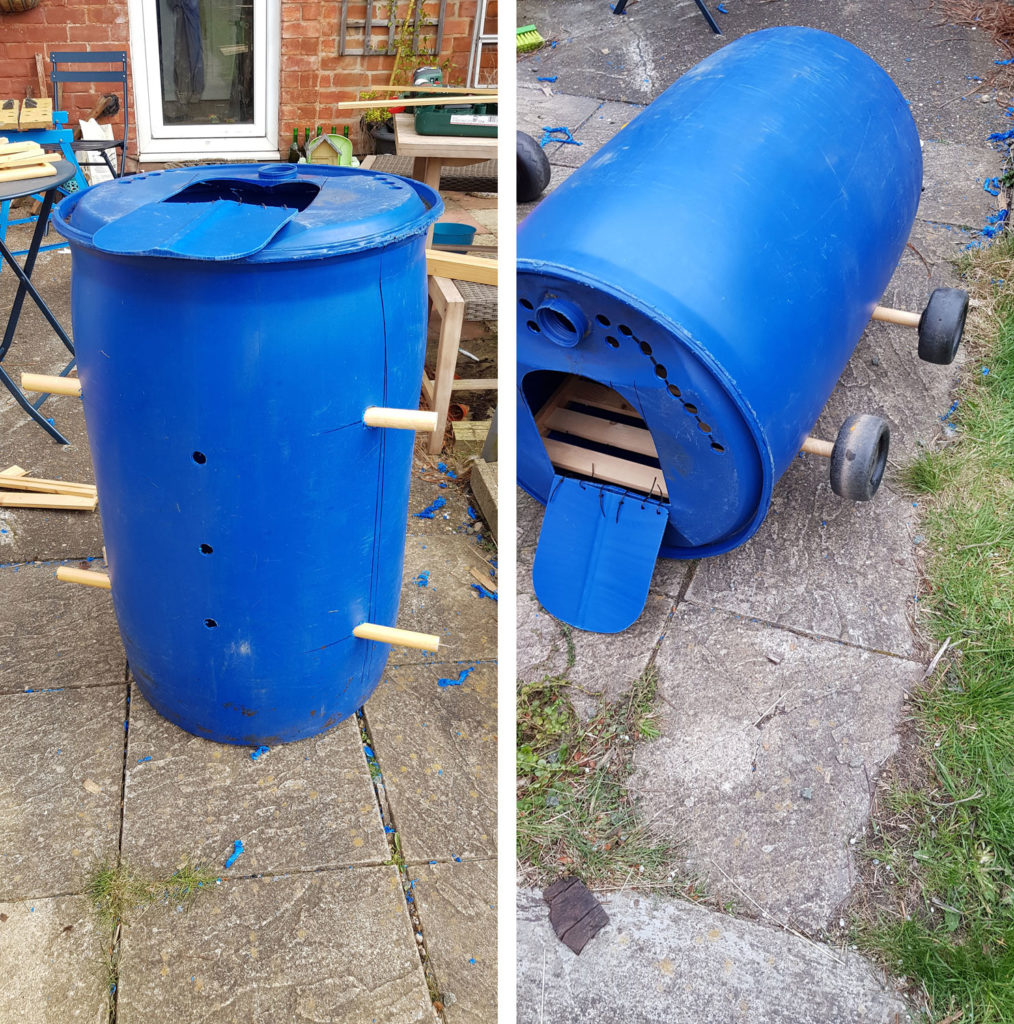
The first step is to mark out all the areas which need either cutting or drilling. In the images below you can see that I have marked out the main chicken door and the rear doors.

The doors at the rear of the coop (barrel bottom) are split one being to access the nesting area. The other allows the removal of the poop tray.

The coop uses the heat of the chickens while they are inside to draw air through the lower vent holes. As the air heats, this will be then expelled out the air vents at the top. This movement of air should dry out the chicken waste in the poop tray.
Thankfully I had a surplus of cable ties left over from my crypto project.
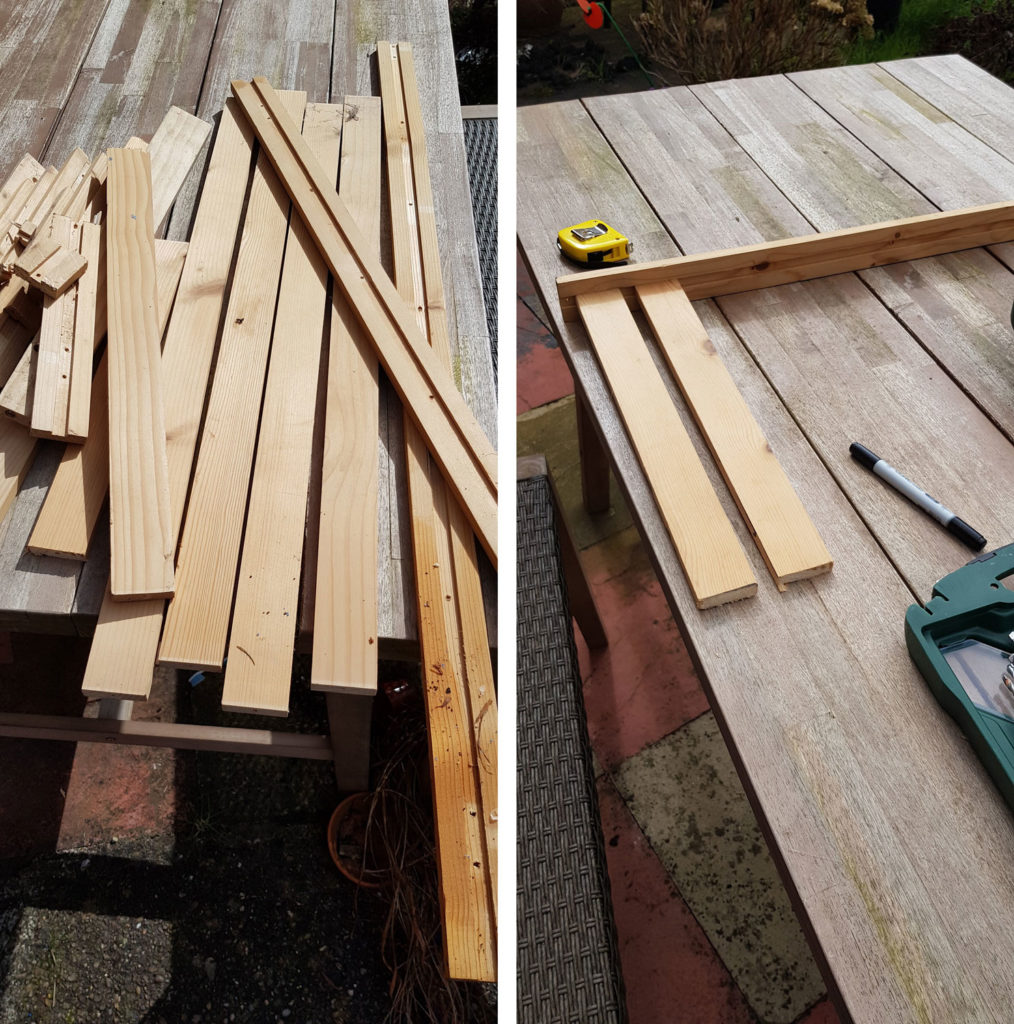
As for the internal frame, an old broken bookshelf came in very handy.
To combat the condensation build-up, during the long winter evenings. Drainage holes drilled into the base of the coop. This will allow the built-up water to drain down the sides. Under the poo tray and drain away. Making sure not to block these holes the coop is to be raised on wheels.
Finally with all of that put together the chickens have their new coop.

Conclusion
I hope you enjoyed this post and that, it’s given you some inspiration about reusing waste materials and turning them into something interesting. Why not leave a comment if you have any questions or want to share your projects?
Leave a comment